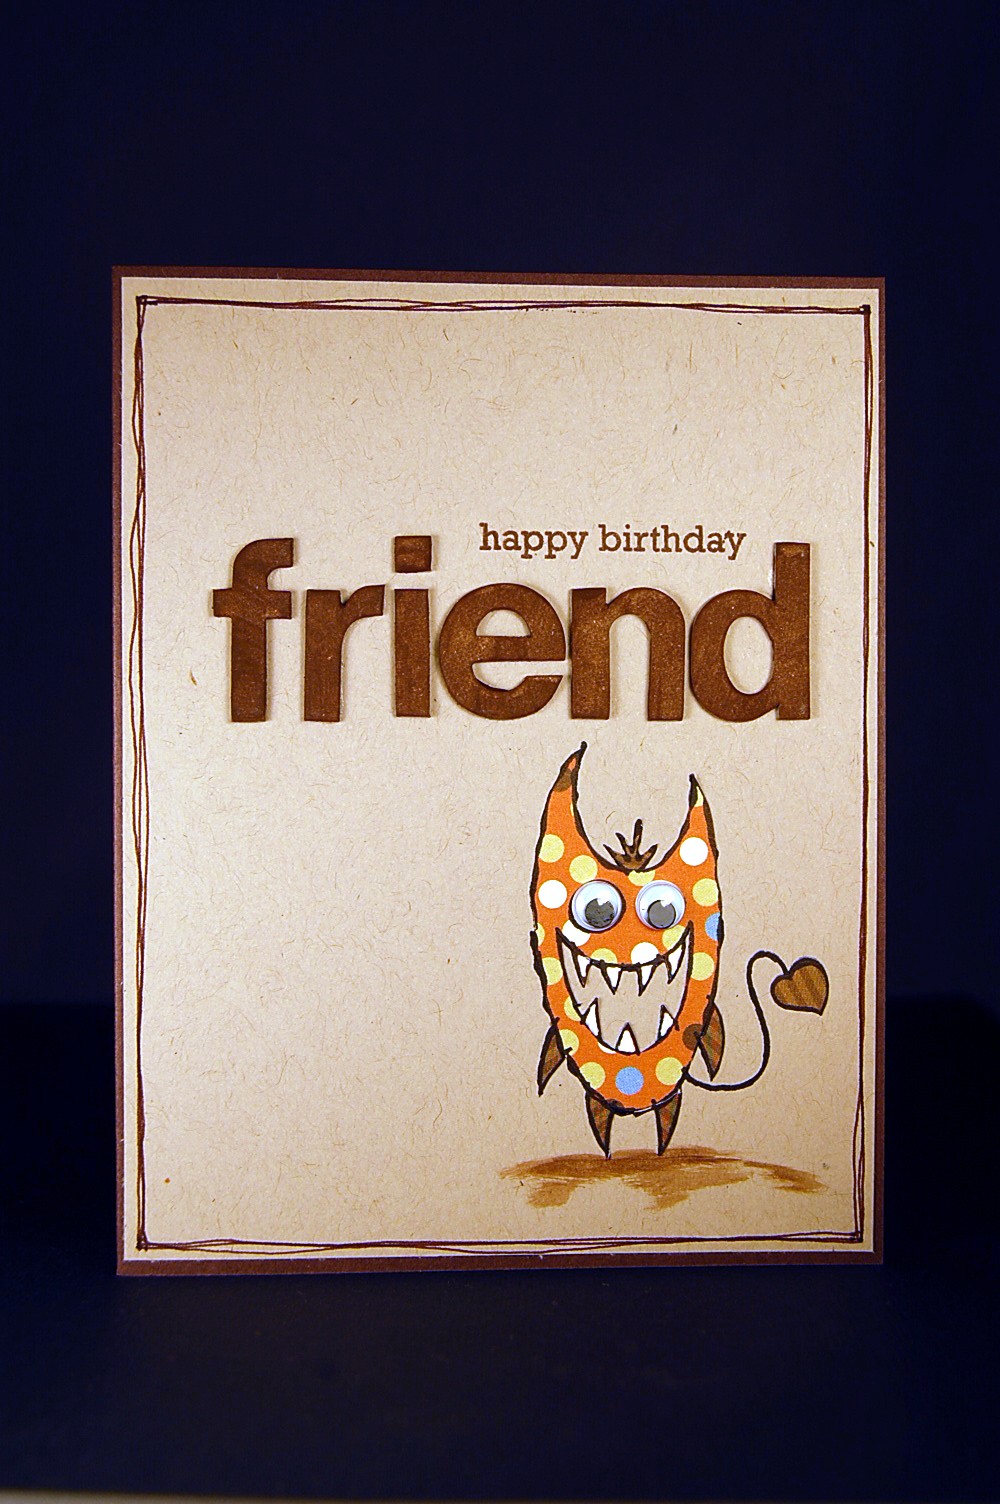
Hey everyone. I received a number of questions after yesterday's post so I thought I'd answer them as best as I could.
First, a few individuals wanted to know about unmounting my wheel stamps. I had heard of this from various threads on Splitcoaststamping but was very tentitive to do it! I mean, it feels like you are 'ruining' your stamps, right??!! But then I look at my box of wheel stamps that sit, neglected, because I find them too hard to use. So I decided to take the plunge. I have no idea if this is the way others have done it ... just sharing what I did.
If you look at your wheel stamps from Stampin' Up! you can see the 'seam' of the rubber where they connected the image. I took my hobby knife and just slowly and carefully started cutting at that location. It took a number of runs over the seam but eventually the old glue gave way and the rubber peeled off easily from the wheel base. I actually wrote the name of the stamp on the bottom with a Sharpie Permanent pen so I wouldn't forget. Someone asked about foam mounting or tacky glue...I don't use either for my unmounted stamps. I use either double sided tape (3M) or removable adhesive (Tombo Mono) on the bottom of the rubber and just stick them to my acrylic block! I find that, overall, that works perfectly! Sometimes I do need to put my computer mouse pad (soft and foamy one) underneath the paper I am stamping onto which makes the ink meet up with the paper better. I don't need to do that often but I did when I used my new border stamps (the one that used to be a wheel!).
The other questions I got were about my photo box. I am lucky enough to have a wonderful husband who bought me one a few years ago for Christmas! You can see it
HERE. I have however, read that you can create one but it looked like a lot of work if you ask me! But then I'm pretty lazy!! Hehehe! I had been using the 2 lamps that came with my photo box but they were not bright enough. Today I bought 2 desk lamps, just $9 basics from Walmart that I think will give me much better lighting!
About the photo box, it can be a pain sometimes ... because my cat loves to sleep in it!! Sheesh!!
Have a good evening. I'm off to be creative :-)
Donelda
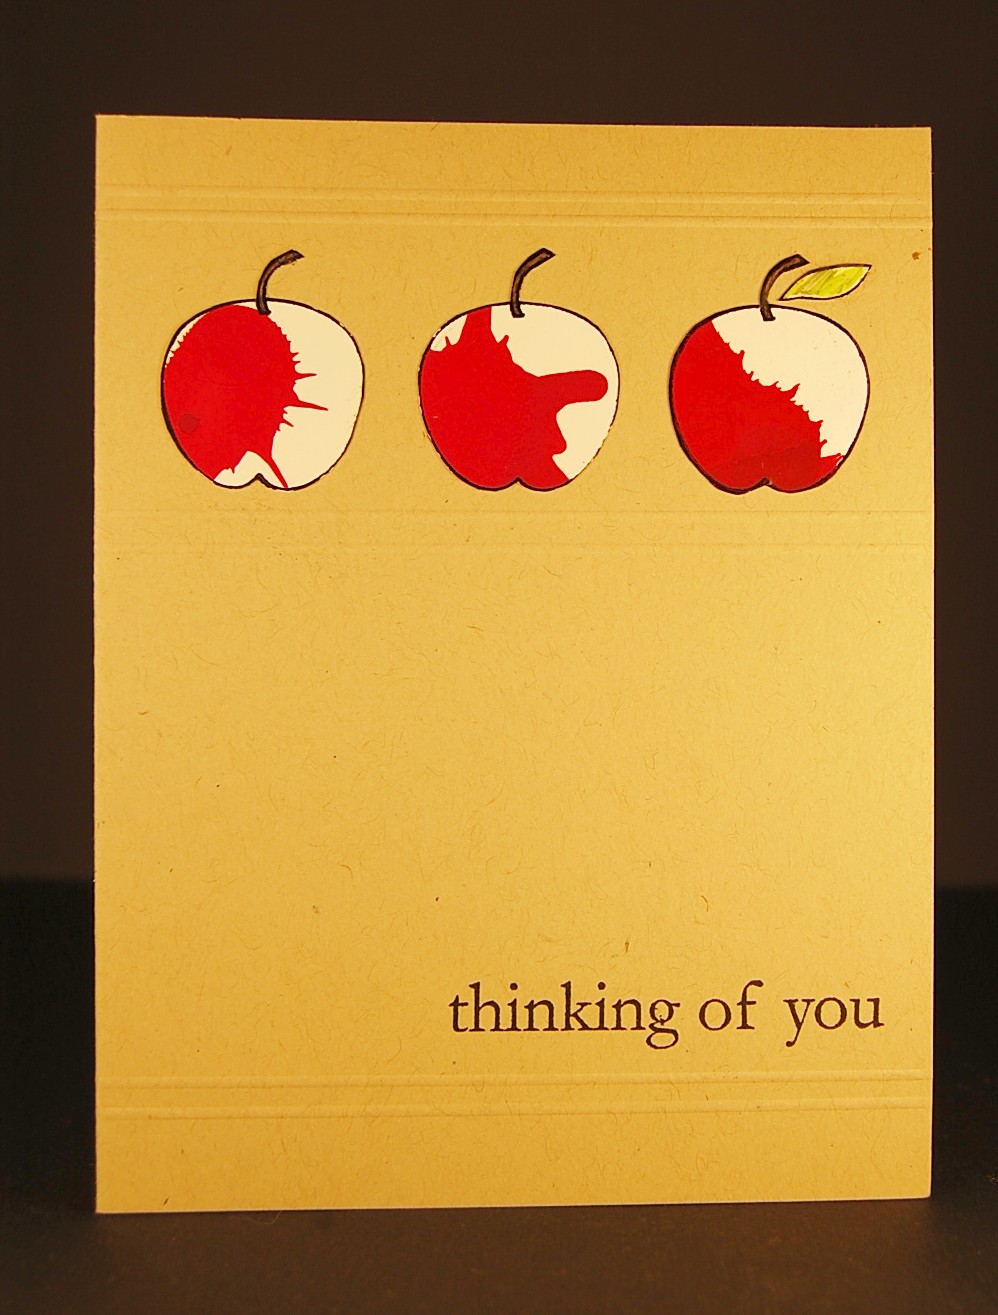
 I dropped the cranberry alcohol ink onto glossy paper and then moved it around with a can of air! (so much fun!). Then I stamped the open apple strategically on top. Originally I had planned to use only 1 apple but I liked all of them so picked the best 3 and added them to the card. Then I colored the leaf and stems with Copics. Finally, I have been meaning to do some scoring (I've had my Score Pal since Christmas and haven't "thought" to do it yet!!! sheesh!!) so I added scoring lines above and below the apples and again at the bottom of the card. A simple thinking of you sentiment finishes the card! Good, clean, and simple!!